How to Log Into a WordPress Blog and Post a New Blog Post
Before I start this tutorial, I’d like to mention that I’m a content writer and a WP web designer as well.
Log in to Admin Dashboard
Now let’s start: if you want to create/publish a post on the WP website, the first thing to do is to login into your admin dashboard. To get started, type your website URL on Google or just go to your website home page. For example, let say the URL is: https://yourwebsite.com
After typing your WP website URL, add the following text at the end of it: /wp-login.php

Add New Post
Once you log in, you’ll need to click the post’s link in the navigation menu. The posts link is located on the left side of the dashboard. Then click ‘ADD NEW’

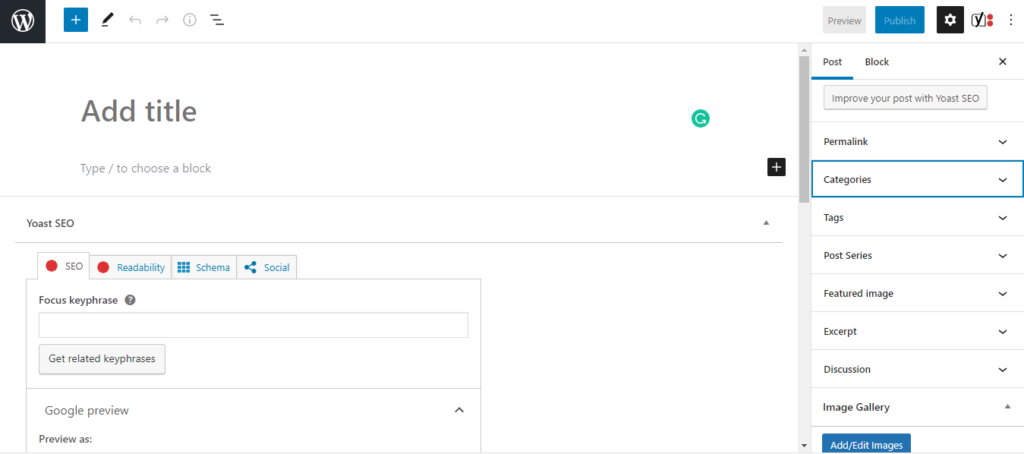
Below is the page you’ll get once you click ‘add new.’

This is where you can paste/write your title. When you scroll on the right side of this page, you’ll see some information like:
Categories: let’s say you’ve a parenting blog and it has 3 categories, that is, pregnancy, babies, and family finance. If the title for this blog post is “How to Prepare for Your First Pregnancy Appointment”, you’ll just publish it under the ‘pregnancy category.’
Featured Image: This is another important element you should consider before publishing your post. You’ll want an image that talks more about the post. Click this tab and add your favorite image.
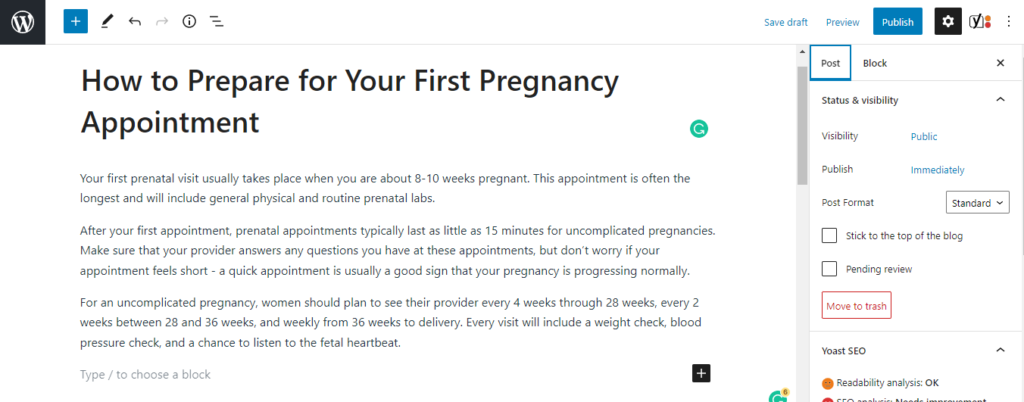
Where should you post the content of your blog? Below the ‘Add title’ you can see ‘type/choose block.’ Copy the body of your post from MS Office and paste it in this area (type/choose block).

Check SEO
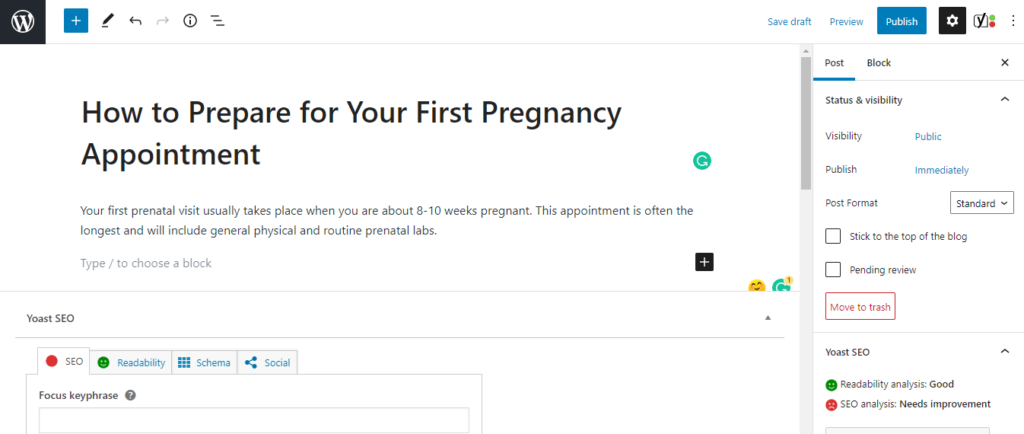
If you have installed a Yoast SEO plugin, you’ll find it below the content area. Look at the screenshot below:

There are a few important things you should know about Yoast SEO. You’ll want to make sure the readability score is excellent and you’ve followed all the SEO requirements. Remember, the goal is to make the article rank eventually.
Here’s a complete screenshot for the Yoast SEO.

You need to pay attention to the following:
Focus keyphrase: In this tab, you need to add your keyword. If you’ve included the right percentage of the keyword, the red SEO button will change to green.
Title: You can see the green line, which means the characters of our title is OK. If your title has a few or many characters, the line will change from green to red.
Slug: Slug dictates the appearance of permalink. Sometimes the title can be longer. For example, let’s have a look at these titles.
- Money saving tips for pets lovers: where to spend vs. where to save
- Want to Add Blue to Your Kitchen? Try These Opulent Hues on Cabinets & Window Shades
- Out with the Old and in With the New: Top 2020 Home Design Trends for Your Home
- 24 Best Cooking and Recipe Websites to Bookmark in 2022
When you’ve such long titles, you need to think about shortening the permalinks. This can be achieved through writing a slag for each title. Below are examples of slags for the following titles:
- Slag 1: money saving tips for pet lovers
- Slag 2: how to add blue to your kitchen
- Slag 3: top home design trends
- Slag 4: best cooking and recipe websites
Another benefit of using a slag is to maintain the relevance of the title when updating your post. Let’s talk about the last title: 24 Best Cooking and Recipe Websites to Bookmark in 2022.
If you published the permalink just as 24-best-cooking-websites-to-bookmark-in-2022, it means when you’ll add more recipe websites to 30 or 35, it’ll appear awkward. And if you want to update the year to 2023, the permalink will still show 2022.
Meta description: This is not new to many writers. You’ll need to add a Meta description, which might be a summary of the post. The MD must contain the keyword and should have 150 characters or 20-23 words.
Publish the Post
Once you’ve done all these, you can proofread your work and finally click ‘publish.’ The button for publishing is found on the upper right side of the ‘add new’ page.

Congratulations, your post is live. Now you know how to post a blog on the WP website. If you have feedback or comments, please use contact us.


